Planting a Fall Garden


-by Darlene Ward
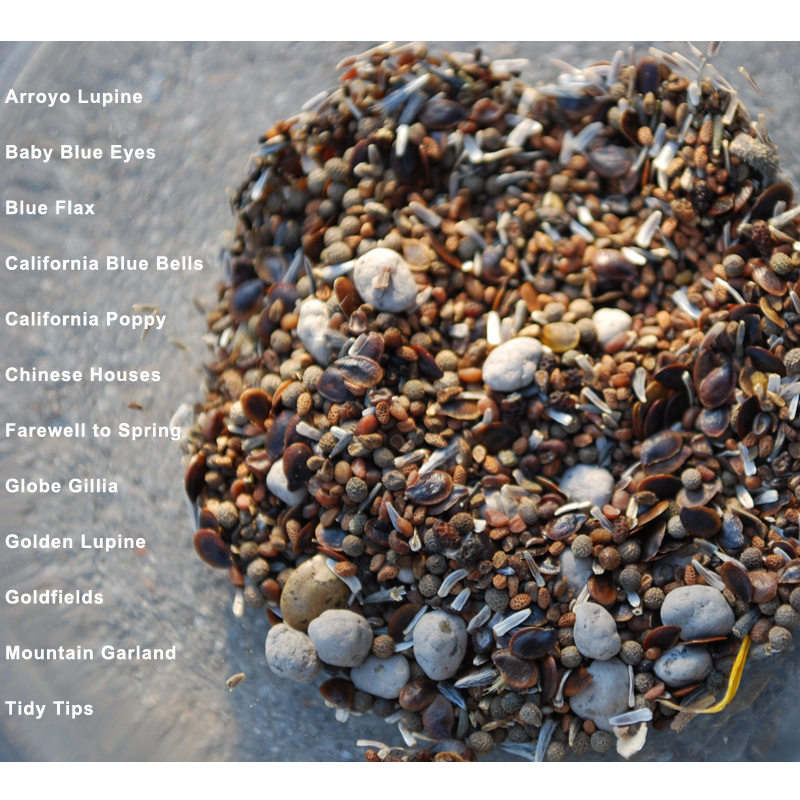
Native Wildflower Seeds
Fall is the best time of all for planting native plants. Soil retains warmth even as the air becomes chilly, allowing roots to grow while the top growth of the plant slows. Spring-planted natives will not have as extensive a root system. When we say, “Fall is Spring for native plants” we mean they start their cycle of growth in the fall after their dormancy of summer. Although not immediately obvious, they are preparing for the vigorous growth they will exhibit in the spring months.
Planting Considerations
There is much to consider in planting a native plant. Many sources say to simply dig a hole and not add any amendments. My suggestion is to first think carefully about the microclimates on your property. After researching where the plant grows natively, in sun or shade, in moist or dry conditions, in types of soil and at what elevation, you will decide if you have the right conditions for it. For example, here in the foothills if I want to plant a coastal variety that grows in full sun, I will try to place it where it will have some shade in the hot afternoon. In some areas on my property I have the reverse situation: morning shade and sunny afternoons. I may try a plant there anyway, knowing that its growth may not be ideal.
Most native plants need excellent drainage. When I have selected the place, I dig my hole twice as wide as the container and only as deep as the container. I then fill the hole with water to see how long it takes to drain. If it takes more than two hours, I move to a different place. If it takes more time to drain and there is no other option, you might try the plant there anyway, or you might select a plant that is less prone to root rot, such as one that generally grows near streams.
Another consideration is your plant’s neighbors. I try to group plants with similar water needs. I allow enough space for the mature size of the plant without the need for pruning. I think about plant size, flowering, leaf textures and colors, and how the plant will enhance my overall landscape.
Amendments
Native plants fare best in native soil, with no additional amendments. This works very well with native topsoil. However, when homes are constructed, the soil is often compacted by heavy equipment or scraped down to subsoil. Some gardeners with these conditions or with heavy dense clay experiment with incorporating a small amount of compost, mixing no more than one part to three parts native soil. Because the plant will be in the ground long after the organic material breaks down, this amount will likely have a short-lived effect and may help a nursery-grown plant adapt to its new environment. Heavily-amended soil in the planting hole is likely to keep the roots from growing outward into non-amended soil, creating a problem because plants need to grow outward for stability and to gather the limited moisture in a less-watered environment.
In most cases it is best to place mulch or compost on top of the soil rather than to mix it in. This mimics the mulch that is built up by native plants dropping their leaves onto the soil year after year.
Adding fertilizer may speed growth, but the end result is to shorten the life of the native plant. I avoid fertilizer, but I do place a several handfuls of soft rock phosphate and less of oyster shell in the bottom of the hole, covered with an inch of soil, to supply the phosphorus and calcium that are generally lacking in foothill soils. While this may not be necessary for native plants, it doesn’t seem to do any harm and may encourage root growth.
Ready to Plant
Gently remove the plant from the container by supporting the top of the soil with an open palm as you turn the container upside-down and tap the bottom of the container. If the plant doesn’t come out, set the container on its side on the ground and press down on the side as you roll it a bit. Try tapping the rim of the upside-down container on a large rock or a wall, still supporting the soil with your open palm. Never pull on the plant itself in an attempt to get it out.
Inspect the rootball. For years we were told to loosen the mass of roots gently or to even make a couple of vertical slashes, but tests have shown that plants grow just as well, if not better, if the roots are not loosened. Since habits die hard, use your own judgment in applying this modified advice. Some native plants greatly resent any disturbance to their roots.
The plant’s soil surface should be set about an inch above the ground level. This allows for settling of the plant. Add enough soil to provide a gentle slope extending downward from the edge of the rootball and add mulch on top of the soil, keeping it several inches away from the base of the plant. If possible, I add a cage around the plant to protect it from marauding deer, who tend to uproot new plants as they sample to see if they are tasty. It’s the high nitrogen content in fertilizer used by the nursery that attracts them.
If the weather is warm and dry, I build a berm around the outside edge to retain water, but when the rains come I remove the berm to drain excess water. I also put shade cloth on the sunny side if the plant appears susceptible to wilting.
I regularly check back later to be sure that the edge of the rootball is no higher than the surrounding soil, which may be eroded by watering or frost heaving.
Watering
The new plant needs to be watered for two or three years even if it is labeled drought-resistant. I water it immediately upon planting, and then I regularly check the rootball near the stem because the soil that was in the container may dry out more quickly than the native soil. Plants can actually dehydrate and die when we think that the ground is plenty moist.
Be Patient
A native plant may not grow much in its first year. Growth often accelerates after two years.
Enjoy!